The image editor on Fan Page Robot is a magical way to create and share beautiful photos.
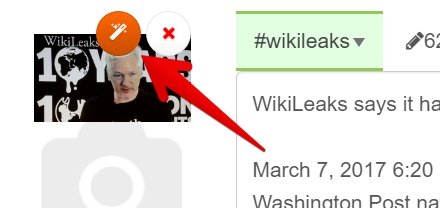
When you are editing a post, click on the orange icon to launch the powerful yet easy-to-use image editor.
This versatile post processing tool lets you tweak your images for everything from size, border, brightness to adding text, stickers, icons, and conversation bubbles.
Beyond some basic adjustments, the image editing tool at Fan Page Robot comes with layers and many beautiful filtering effects that you might find in a full fledged image editing program like Photoshop.
Basic Image Operations
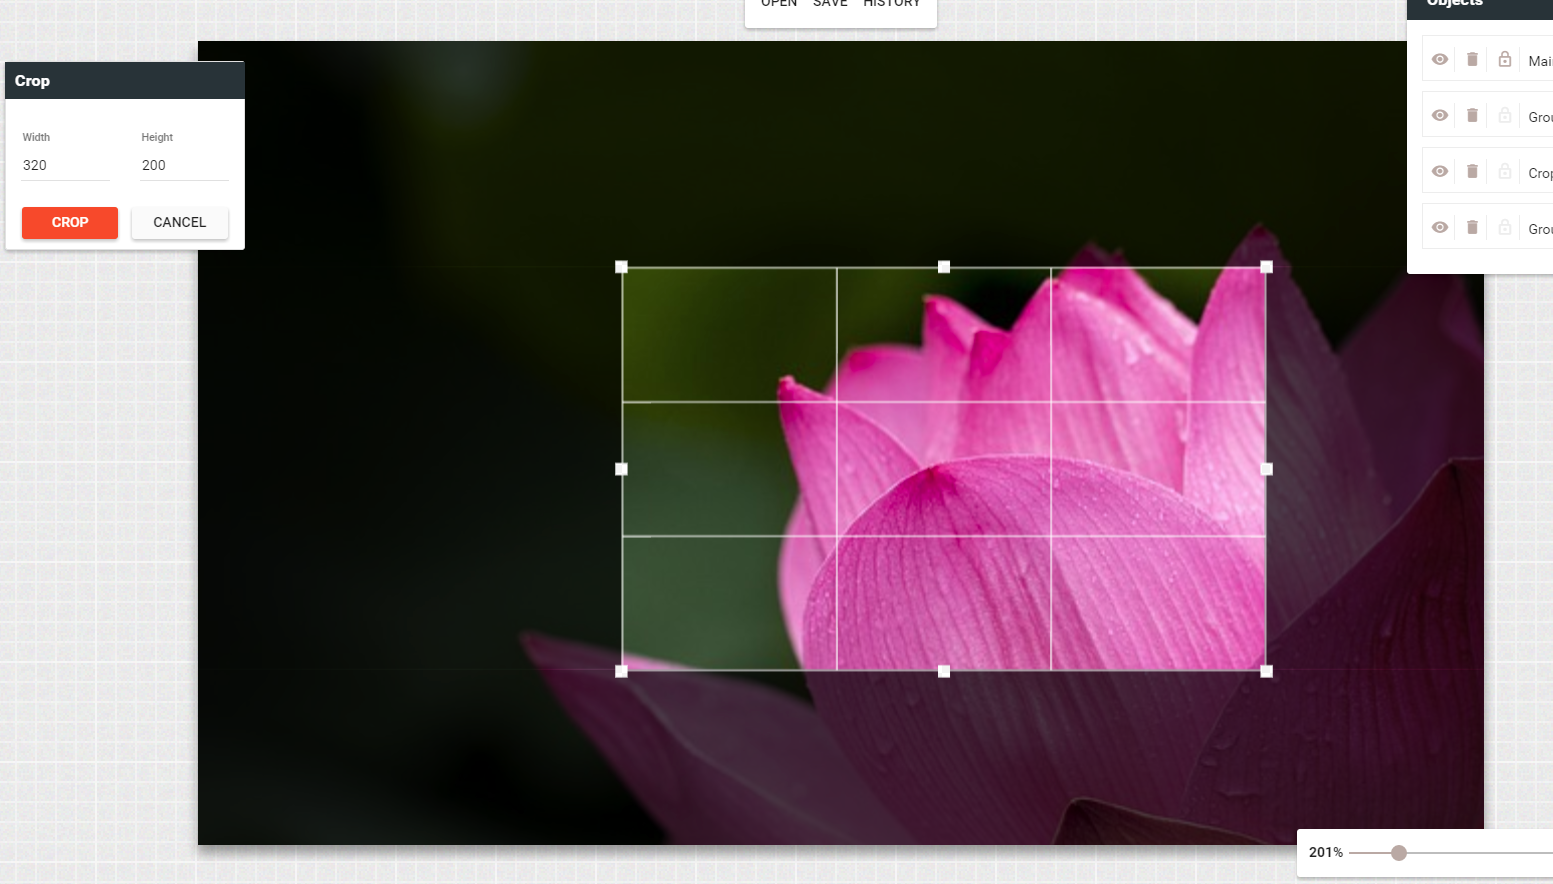
#Crop
To crop the image click on the corresponding icon in the basics panel. After croping square appears on the image position it where you want by dragging it then click crop to finish.
#Rotate
To rotate an image click on the rotate icon and use the slider to rotate the image, click apply after you are done.
#Resize
To resize an image click on the resize icon and enter the image dimensions you wish to resize to. constrain proportions switch will assure that aspect ratio is preserved. You can also use the percentage slider to resize the image by certain percentage while keeping the aspect ratio.
#Round Corners
To round image corners click on the round icon, select the radius you want and click apply. Note that currently rounded corners will appear jagged on chrome due to a bug in it so you should use firefox or IE if you need perfectly round corners.
#Color
The color icon will change the canvas background. This will only work if your image doesn't fill the entire canvas.
#Merge
Merge will merge all the layers/objects, after this they will not be movable or modifiable, but you will be able to apply filters to everything instead of just the images.
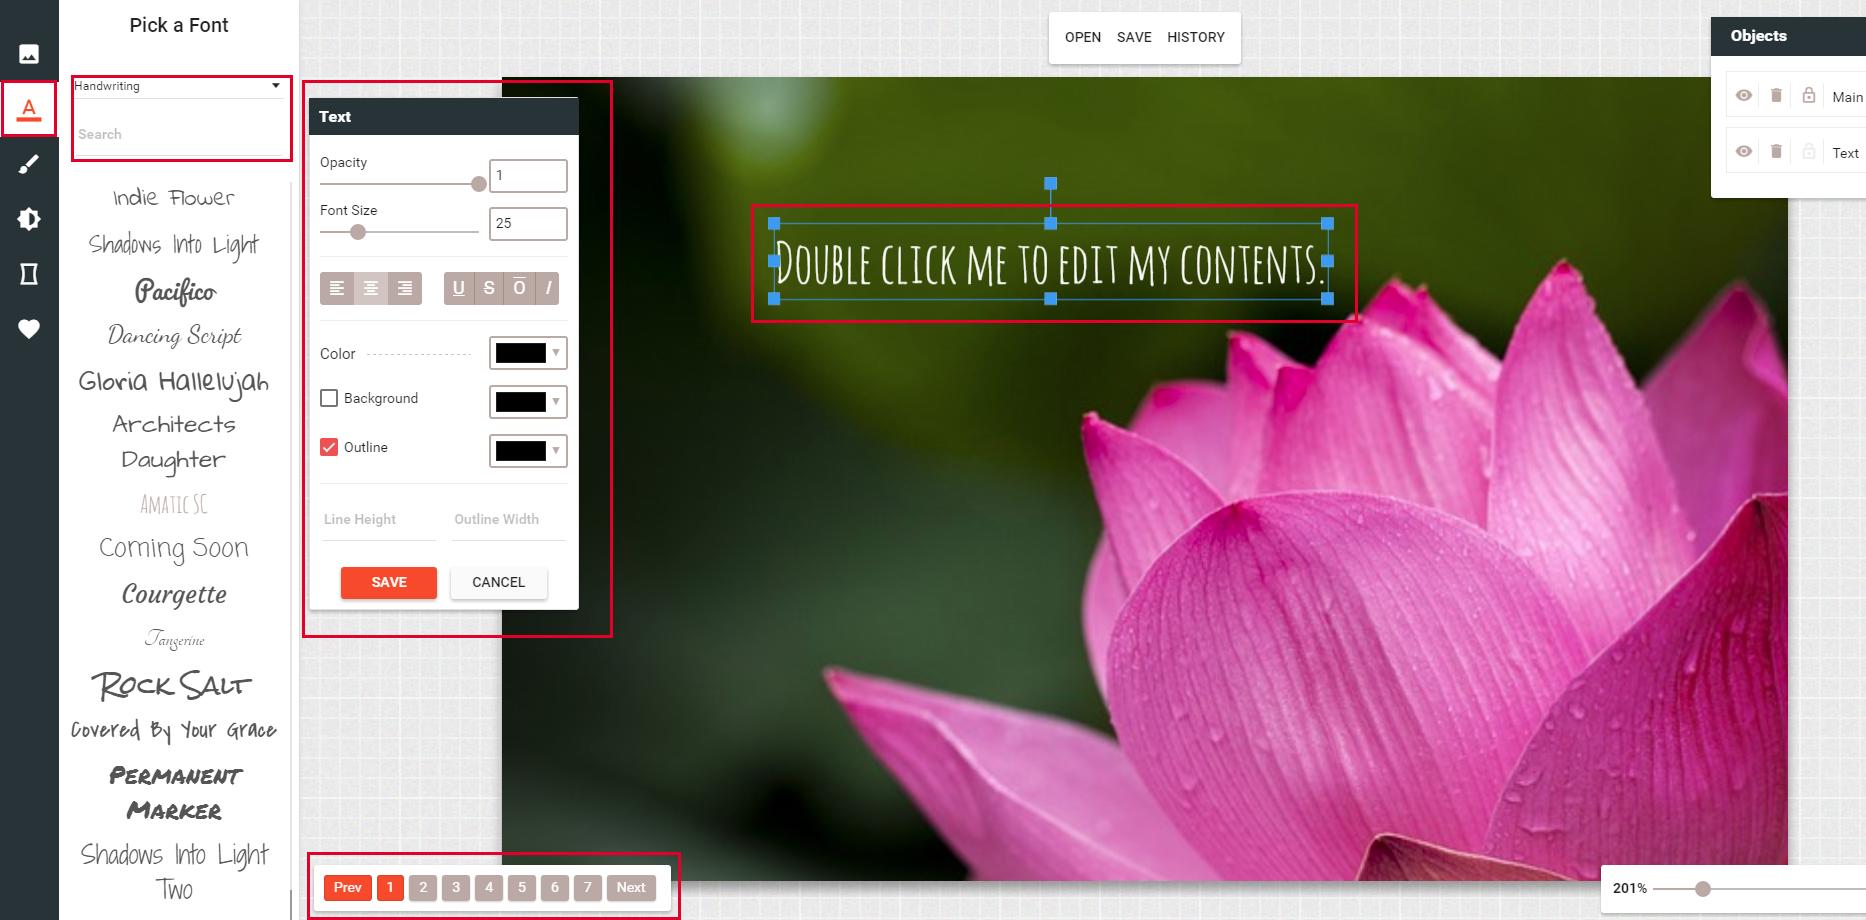
Adding text
To add text to your image open the text tab from the left sidebar and click on the font you want. You can filter the fonts by searching for them by name or selecting a category at the top of text tab and you can change to the next fonts page by using pagination at the bottom. You can choose from all 600+ goole fonts. Double click the text in the image to change its contents. You can change the page appearence from the panel that opens up when you click on text.
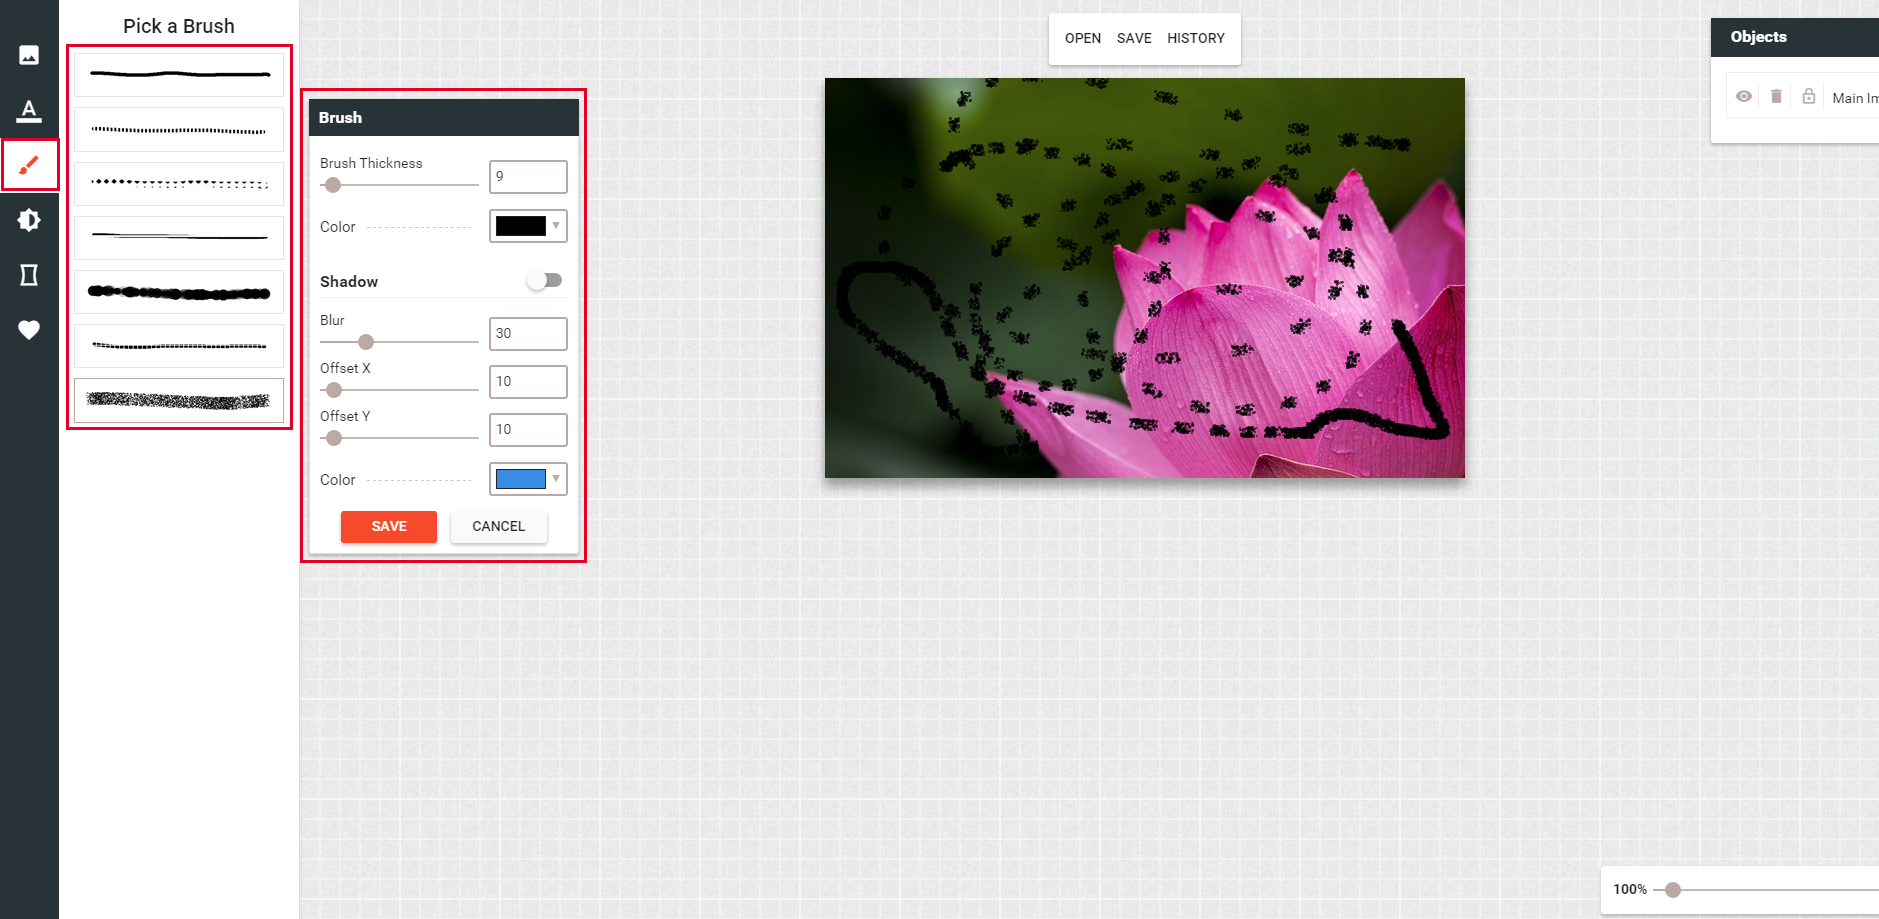
Free Drawing
To draw select a brush you want from the free drawing panel and then simply click anywhere on the image and drag the mouse without releasing the mouse button. You will need to change the settings you want in the drawing panel before you start drawing as those settings will not be changable afterwards. Also don't forget to click apply after you are done otherwise the drawing will not be preserved.
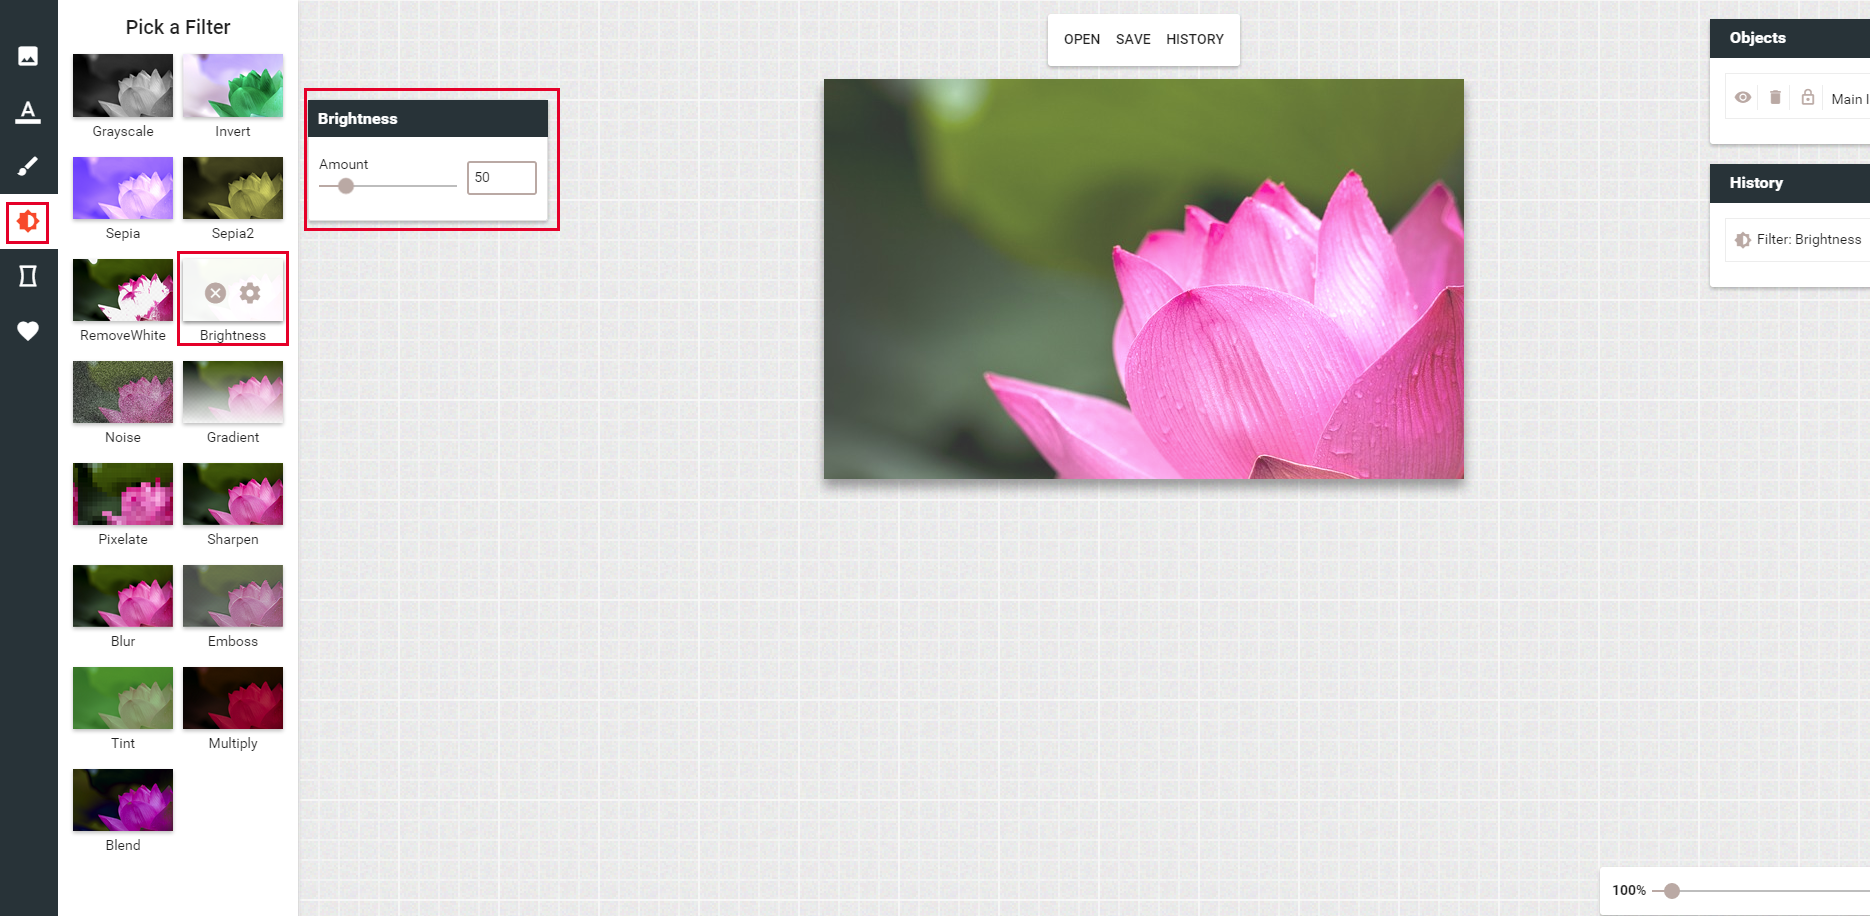
Filters
To apply filters to images, open filters tab and the select the filters you want. You can click on the X icon to remove the filter and on gears icon to change it's settings. Note that filters will only be applied to images and not other objects like text and drawings, if you want to apply filters to everything you will need to first merge the layrs from basics tab.
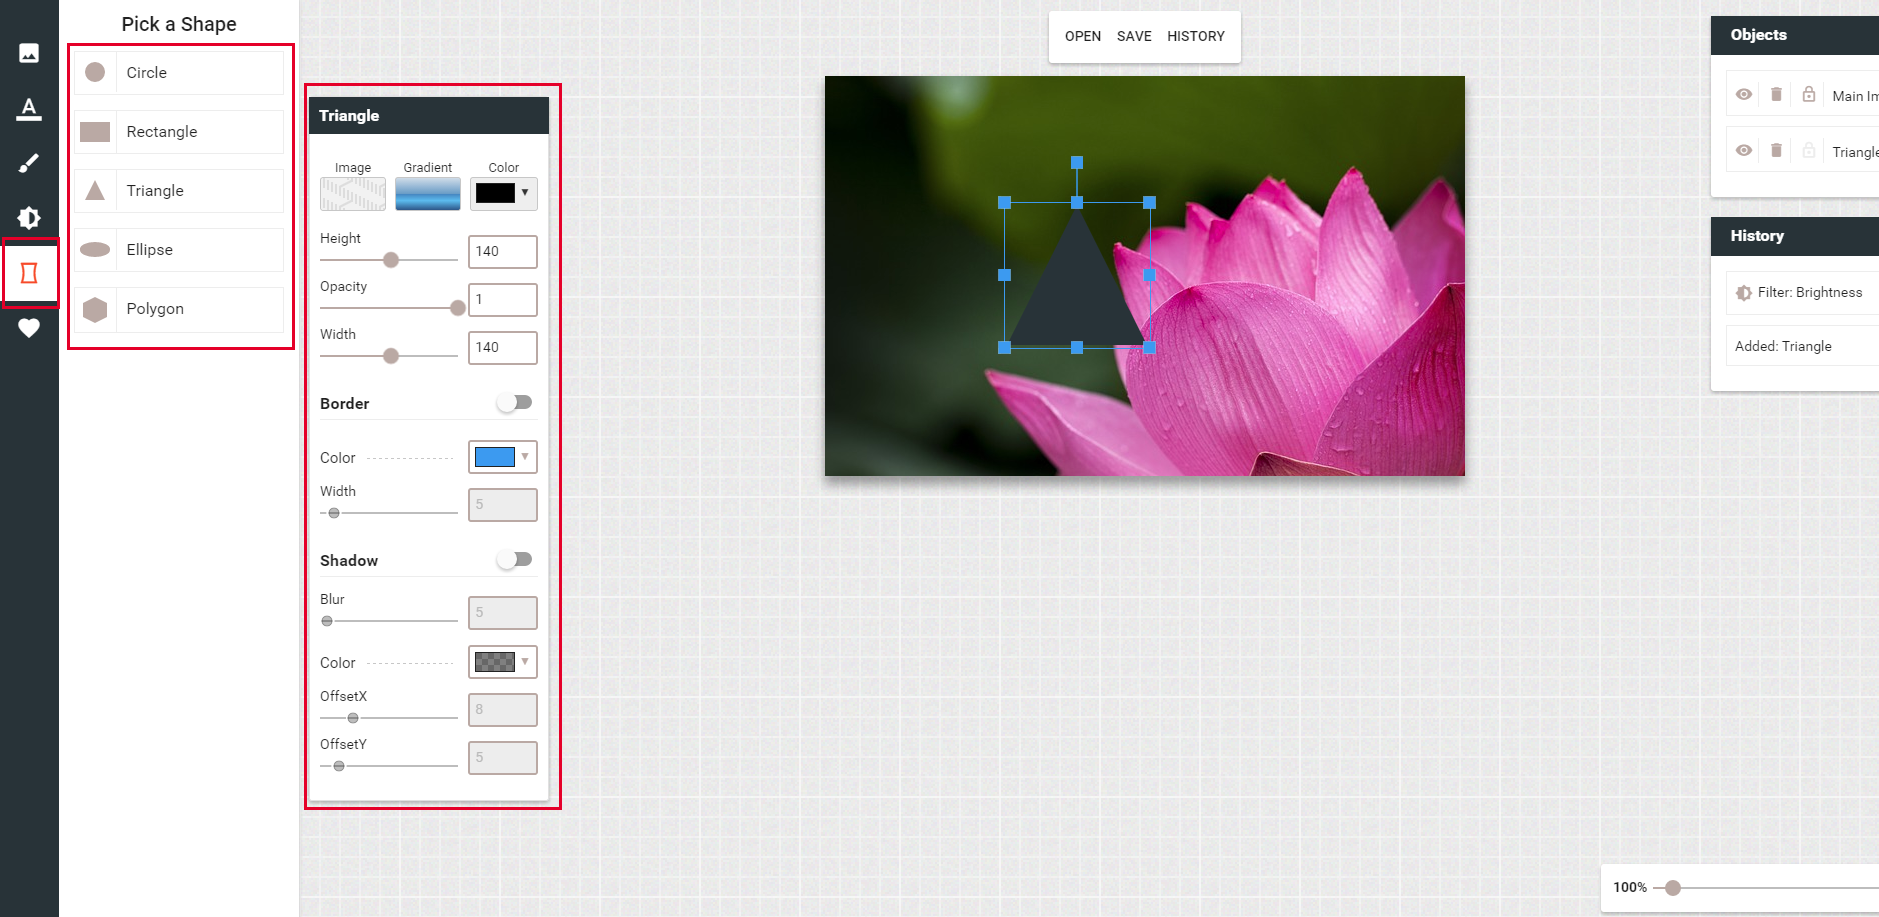
Basic Shapes
From the shapes tab you can add multiple shapes to your image, you can position the shape by clicking on it and dragging it around. You can change a variety of shape settings in the shape panel including applying a custom background to it.
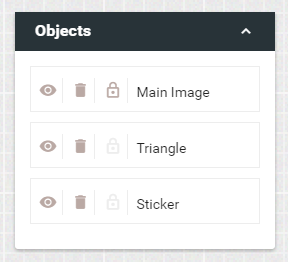
Layers/Objects
You can manage all the objects in your image from the object panel on the right. Click on object to select it, click on the eye icon to toggle it's visibility, click on the trash icon to delete the object and click on the lock icon to lock object in place preventing it's movement via drag and drop. You can also control objects z-index by changing their order in the objects panel.
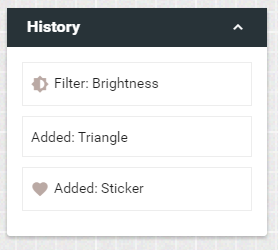
History
Almost all of your actions will create a new item in the history panel so you can easily jump around to various points in time in your project from it by click on a specific item.